How to Install a Vinyl Fence: Your Expert DIY Guide


Considering a new fence for your property? Vinyl fencing has become a popular choice for homeowners across WNY and CNY due to its durability, low maintenance, and aesthetic appeal. If you're exploring how to install a vinyl fence yourself, you're in the right place. While professional installation ensures a flawless finish, understanding the process can empower you to tackle the project or make informed decisions when hiring.

This comprehensive Q&A guide from The Vinyl Outlet will walk you through the essential steps and considerations for installing a vinyl fence, ensuring a sturdy and beautiful addition to your home. We'll cover everything from proper post depth to securing methods, helping you achieve a long-lasting result.

What is the best way to install a vinyl fence?

Installing a vinyl fence effectively involves careful planning and execution to ensure stability and longevity. The best approach begins with thorough site preparation. First, always identify and mark all underground utilities before digging. Next, accurately lay out your fence line, marking the precise locations for each post.

The installation process typically follows these key steps:

  • Digging Post Holes: Dig holes to the appropriate depth and width, considering your fence height and local frost line.
  • Setting Corner and End Posts: These are critical for establishing your fence line. Set them first, ensuring they are perfectly plumb and aligned. Many choose to set these in concrete for maximum stability.
  • Running String Lines: Use these lines between your corner and end posts to guide the placement and height of your intermediate posts.
  • Setting Line Posts: Install the remaining posts, checking each for plumb and alignment with your string lines. Concrete is often recommended for all posts to enhance durability.
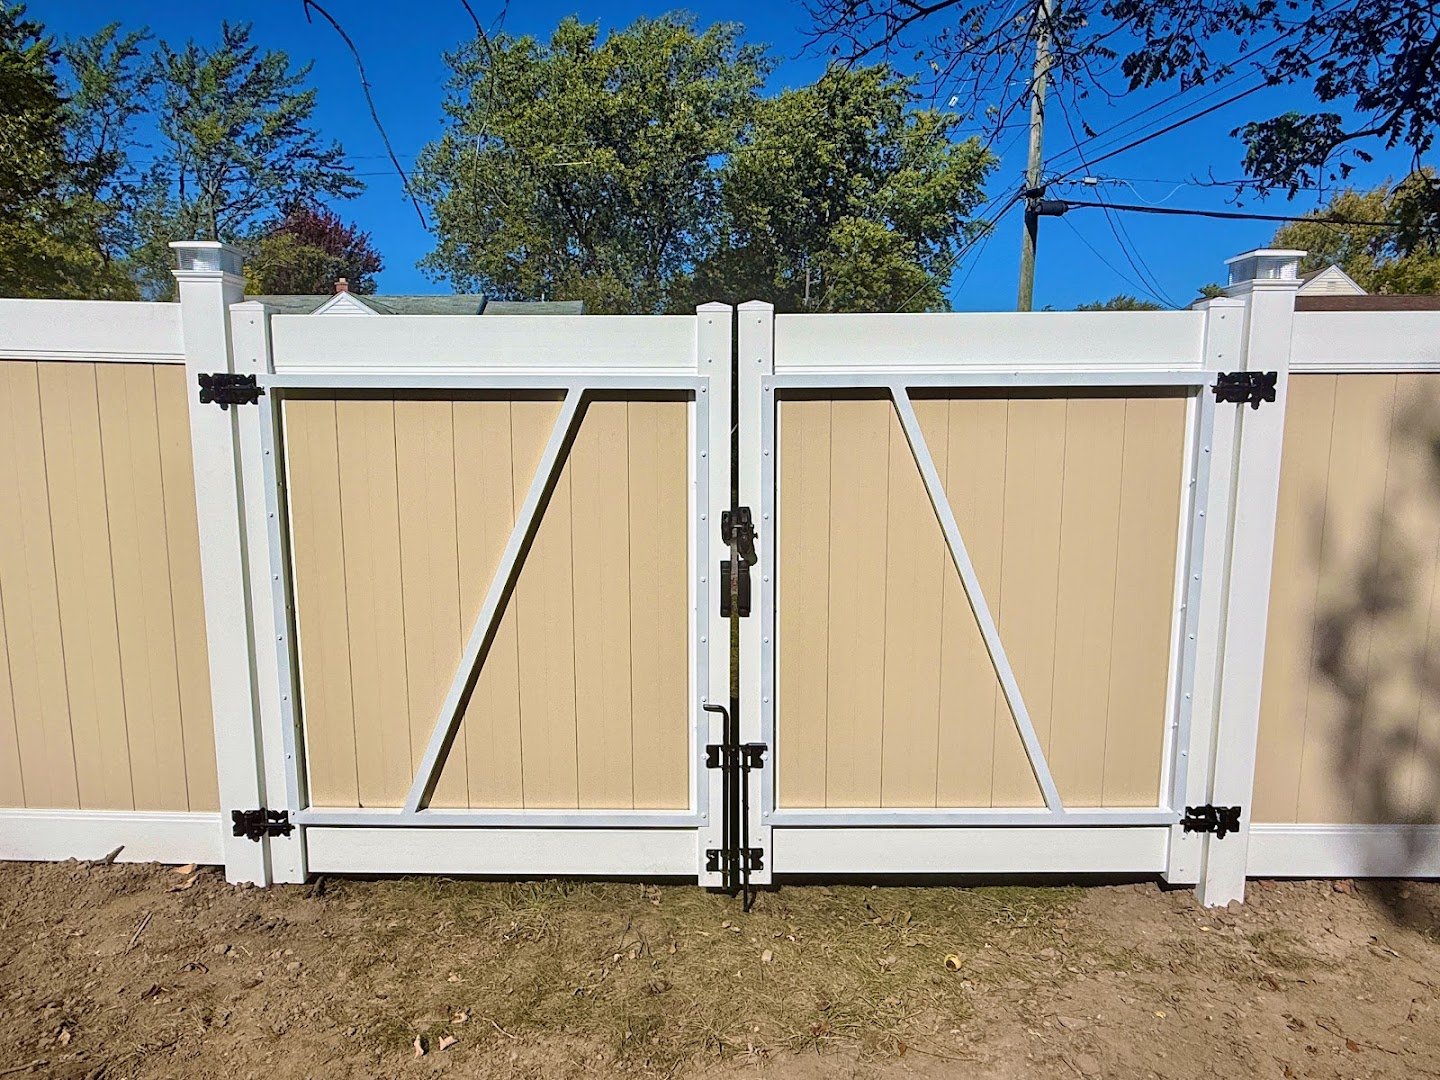
  • Assembling Panels: Once posts are securely in place and concrete has cured (if used), you can begin attaching the rails to the posts and sliding the fence panels into the rails. This step is usually straightforward, as vinyl fence systems are designed for easy assembly.
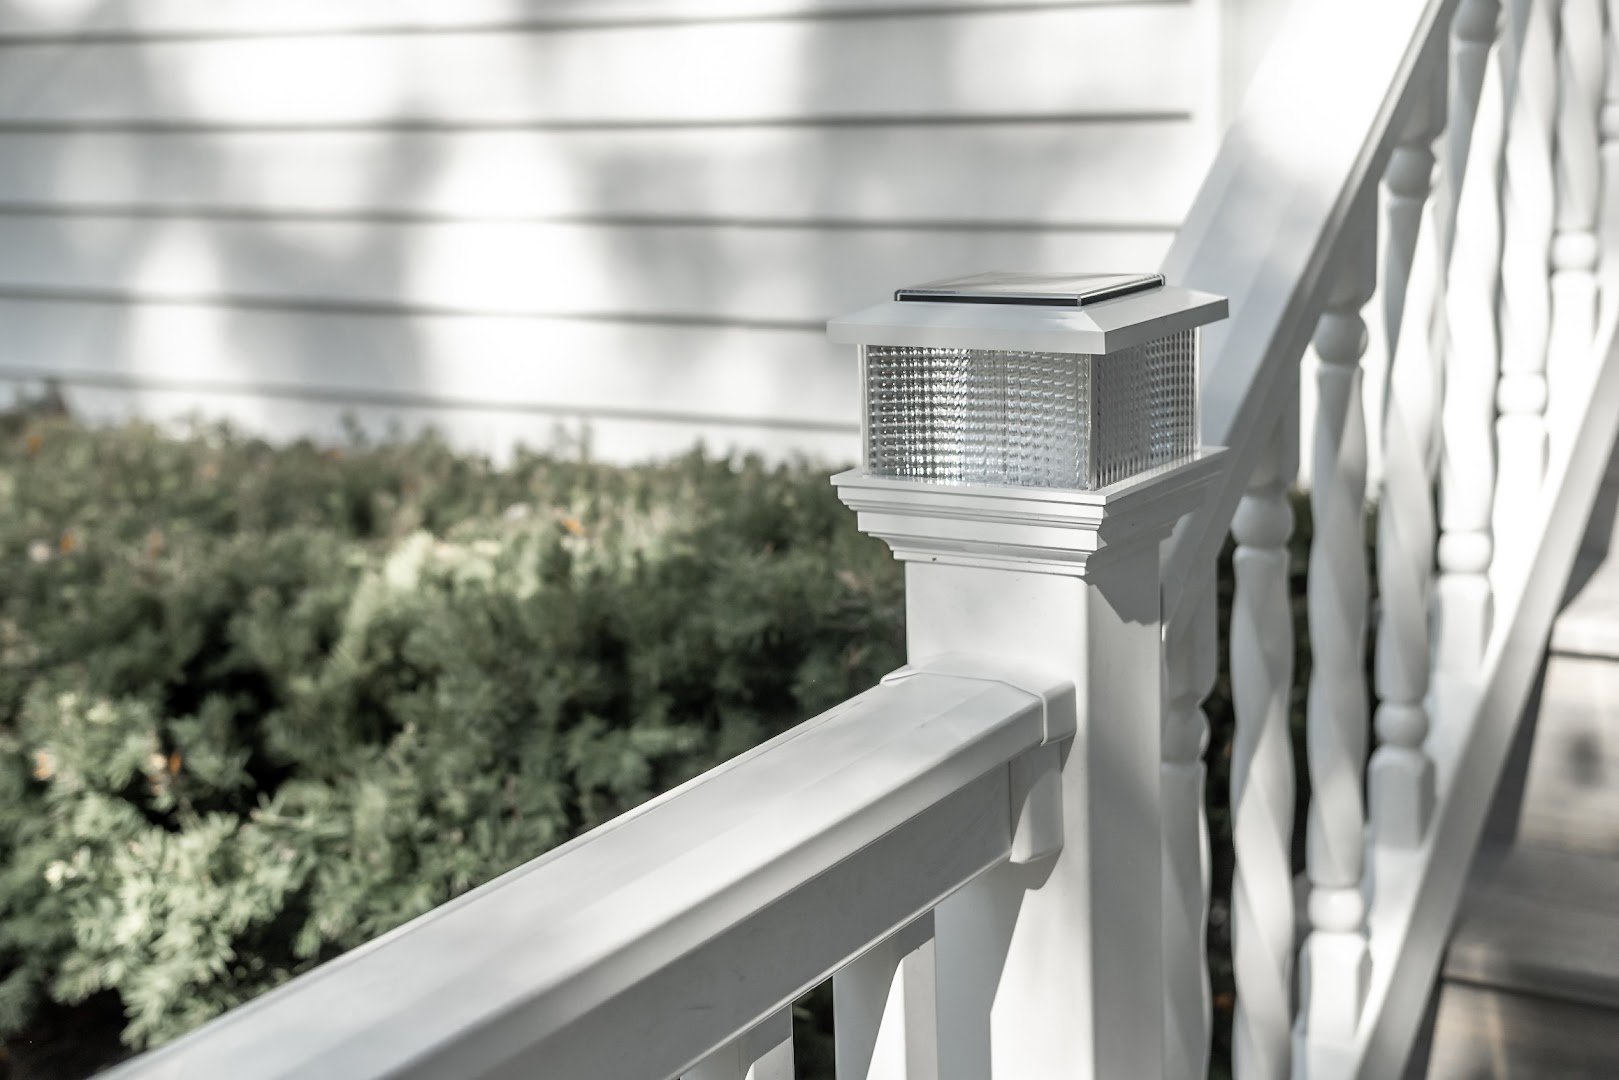
  • Adding Caps: Finish by placing caps on top of each post for a clean look and added protection.

While DIY installation is feasible, especially with quality materials, remember that precise measurements and proper post setting are paramount. For those who prefer professional assurance, The Vinyl Outlet offers expert installation services, ensuring your fence is installed to the highest standards.

What holds a vinyl fence up?

A vinyl fence's stability and upright structure are primarily maintained by a robust system of posts, rails, and panels, all working in conjunction. At the core, the posts are the foundational elements. These vertical supports are anchored into the ground, often reinforced with concrete, to resist movement from wind, impact, and soil shifting. The depth and stability of these posts are crucial for the fence's overall integrity.

Connecting these posts are the horizontal rails. These rails slide into pre-routed holes or are attached using brackets on the fence posts, creating a strong framework. The rails provide the necessary support for the individual vinyl panels or pickets, which slide securely into the top and bottom rails. This interlocking design distributes weight and stress across the entire fence section.

Unlike wood, vinyl fencing materials themselves possess inherent strength and flexibility, resisting rot, warping, and insect damage. The manufacturing process often includes internal ribbing or multi-chamber designs within the posts and rails, further enhancing their structural rigidity. When properly installed, with posts set to the correct depth and secured adequately, a vinyl fence forms a remarkably resilient barrier that stands strong against the elements, providing lasting beauty and privacy.

How deep should a vinyl fence post be in the ground?

The ideal depth for setting a vinyl fence post in the ground is a critical factor for the fence's stability and longevity. A general rule of thumb is to bury at least one-third of the post's total length. So, for a 6-foot tall fence, you'd typically want to bury at least 2 feet of the post. However, several other factors must be considered:

  • Fence Height: Taller fences require deeper post holes to counteract leverage from wind and provide adequate support.
  • Local Frost Line: In regions with freezing temperatures, it's essential to dig below the frost line. This prevents the ground from heaving during freeze-thaw cycles, which can push posts out of the ground and compromise the fence's alignment.
  • Soil Type: Loose or sandy soils may require deeper holes and more concrete for better anchorage compared to dense clay soils.
  • Wind Exposure: Fences in open, windy areas will benefit from deeper, more securely set posts.

A common recommendation is to dig holes that are three times the width of the post and deep enough to accommodate the one-third rule plus the frost line requirement. For instance, an 8-foot post for a 6-foot tall fence might be set 2.5 to 3 feet deep, depending on the frost line in your area. Always consult local building codes or a professional to ensure compliance and optimal stability for your specific project.

Do you set vinyl fence posts in concrete?

While it's technically possible to set vinyl fence posts without concrete, doing so is generally not recommended for optimal stability and durability. Setting posts in concrete provides significant advantages that contribute to a long-lasting and robust fence:

  • Enhanced Stability: Concrete creates a solid base around the post, preventing it from shifting, leaning, or sinking over time due to soil erosion, wind pressure, or impacts. This is especially crucial for taller fences or those in high-wind areas.
  • Resistance to Frost Heave: When concrete is poured below the local frost line, it helps to anchor the post more securely, minimizing the risk of frost heave lifting the post out of the ground during winter months.
  • Increased Longevity: A properly concreted post will significantly extend the lifespan of your fence by ensuring its foundational integrity remains intact for decades.

The process typically involves digging a hole that is wider at the bottom than the top (a bell-shaped hole can provide extra grip), placing gravel at the bottom for drainage, setting the post, and then pouring concrete around it. It's vital to ensure the post is perfectly plumb before the concrete sets. While it adds a step to the installation process, the investment in concrete for your vinyl fence posts pays dividends in terms of a more secure, stable, and enduring fence. For those seeking the utmost in fence stability and peace of mind, professional installation by experts like those at The Vinyl Outlet ensures every post is set correctly.

While installing a vinyl fence yourself can be a rewarding project, sometimes professional expertise and quality materials make all the difference. If you're looking for top-tier vinyl fencing solutions or need assistance with your project, don't hesitate to reach out to The Vinyl Outlet. We offer free quotes and expert advice to help you achieve the perfect fence for your property, whether you're in WNY or CNY.
Quick Answers

What is the best way to install a vinyl fence?
Installing a vinyl fence effectively involves careful planning and execution to ensure stability and longevity. The best approach begins with thorough site preparation. First, always identify and mark all underground utilities before digging. Next, accurately lay out your fence line, marking the precise locations for each post.The installation process typically follows these key steps:Digging Post Holes: Dig holes to the appropriate depth and width, considering your fence height and local frost line.Setting Corner and End Posts: These are critical for establishing your fence line. Set them first, ensuring they are perfectly plumb and aligned. Many choose to set these in concrete for maximum stability.Running String Lines: Use these lines between your corner and end posts to guide the placement and height of your intermediate posts.Setting Line Posts: Install the remaining posts, checking each for plumb and alignment with your string lines. Concrete is often recommended for all posts to enhance durability.Assembling Panels: Once posts are securely in place and concrete has cured (if used), you can begin attaching the rails to the posts and sliding the fence panels into the rails. This step is usually straightforward, as vinyl fence systems are designed for easy assembly.Adding Caps: Finish by placing caps on top of each post for a clean look and added protection.While DIY installation is feasible, especially with quality materials, remember that precise measurements and proper post setting are paramount. For those who prefer professional assurance, The Vinyl Outlet offers expert installation services, ensuring your fence is installed to the highest standards.
What holds a vinyl fence up?
A vinyl fence's stability and upright structure are primarily maintained by a robust system of posts, rails, and panels, all working in conjunction. At the core, the posts are the foundational elements. These vertical supports are anchored into the ground, often reinforced with concrete, to resist movement from wind, impact, and soil shifting. The depth and stability of these posts are crucial for the fence's overall integrity.Connecting these posts are the horizontal rails. These rails slide into pre-routed holes or are attached using brackets on the fence posts, creating a strong framework. The rails provide the necessary support for the individual vinyl panels or pickets, which slide securely into the top and bottom rails. This interlocking design distributes weight and stress across the entire fence section.Unlike wood, vinyl fencing materials themselves possess inherent strength and flexibility, resisting rot, warping, and insect damage. The manufacturing process often includes internal ribbing or multi-chamber designs within the posts and rails, further enhancing their structural rigidity. When properly installed, with posts set to the correct depth and secured adequately, a vinyl fence forms a remarkably resilient barrier that stands strong against the elements, providing lasting beauty and privacy.
How deep should a vinyl fence post be in the ground?
The ideal depth for setting a vinyl fence post in the ground is a critical factor for the fence's stability and longevity. A general rule of thumb is to bury at least one-third of the post's total length. So, for a 6-foot tall fence, you'd typically want to bury at least 2 feet of the post. However, several other factors must be considered:Fence Height: Taller fences require deeper post holes to counteract leverage from wind and provide adequate support.Local Frost Line: In regions with freezing temperatures, it's essential to dig below the frost line. This prevents the ground from heaving during freeze-thaw cycles, which can push posts out of the ground and compromise the fence's alignment.Soil Type: Loose or sandy soils may require deeper holes and more concrete for better anchorage compared to dense clay soils.Wind Exposure: Fences in open, windy areas will benefit from deeper, more securely set posts.A common recommendation is to dig holes that are three times the width of the post and deep enough to accommodate the one-third rule plus the frost line requirement. For instance, an 8-foot post for a 6-foot tall fence might be set 2.5 to 3 feet deep, depending on the frost line in your area. Always consult local building codes or a professional to ensure compliance and optimal stability for your specific project.
Do you set vinyl fence posts in concrete?
While it's technically possible to set vinyl fence posts without concrete, doing so is generally not recommended for optimal stability and durability. Setting posts in concrete provides significant advantages that contribute to a long-lasting and robust fence:Enhanced Stability: Concrete creates a solid base around the post, preventing it from shifting, leaning, or sinking over time due to soil erosion, wind pressure, or impacts. This is especially crucial for taller fences or those in high-wind areas.Resistance to Frost Heave: When concrete is poured below the local frost line, it helps to anchor the post more securely, minimizing the risk of frost heave lifting the post out of the ground during winter months.Increased Longevity: A properly concreted post will significantly extend the lifespan of your fence by ensuring its foundational integrity remains intact for decades.The process typically involves digging a hole that is wider at the bottom than the top (a bell-shaped hole can provide extra grip), placing gravel at the bottom for drainage, setting the post, and then pouring concrete around it. It's vital to ensure the post is perfectly plumb before the concrete sets. While it adds a step to the installation process, the investment in concrete for your vinyl fence posts pays dividends in terms of a more secure, stable, and enduring fence. For those seeking the utmost in fence stability and peace of mind, professional installation by experts like those at The Vinyl Outlet ensures every post is set correctly.
← Back to Blog
Share:
Common Questions

Frequently Asked Questions

Straight answers to the questions The Vinyl Outlet customers ask most often before booking a quote.

How much does a vinyl fence installation cost?
Every yard is different — most residential vinyl fence projects at The Vinyl Outlet land between $28 and $55 per linear foot installed, depending on style (privacy vs. picket vs. pool code), post spacing, gate count, and access to the job site. Get a free on-site measurement and we'll walk you through the itemized quote.
How long does a vinyl fence last?
Our vinyl carries a limited lifetime warranty against cracking, peeling, fading and rotting. Vinyl doesn't need paint, stain, sealant or replacement pickets like wood does — expect 30+ years of service with routine wash-downs and nothing else.
Do I need a permit to install a fence?
In most WNY and CNY municipalities, yes — permit requirements and setback rules vary by town. The Vinyl Outlet handles the permit filing for you as part of the install; we'll confirm the local code and any HOA restrictions during your quote.
How long does installation take?
Most residential fence installs finish in 1–3 days once we're on-site. Decks and porches typically take 3–7 days depending on size and railing complexity. Weather and ground conditions can extend the timeline slightly in winter.
Do you install year-round?
Yes. The Vinyl Outlet installs throughout the year, weather permitting. Ground freeze can slow post-setting on the coldest weeks of winter, but we still book quotes and start soil-suitable projects. Spring and fall are our busiest booking windows — schedule early if you want a summer completion date.
From the field

Images from Our Recent Work

See full gallery →
The Vinyl Outlet installation photo The Vinyl Outlet installation photo The Vinyl Outlet installation photo The Vinyl Outlet installation photo
Ready when you are

Get a Free Estimate

Browse our gallery or request a quote online — we'll be in touch within one business day.

Serving WNY and CNY including: Buffalo, Rochester, Syracuse, Niagara Falls, Auburn, Batavia, Ithaca, Jamestown, Liverpool, Lockport and beyond.

Get a Free Quote

Interested in*